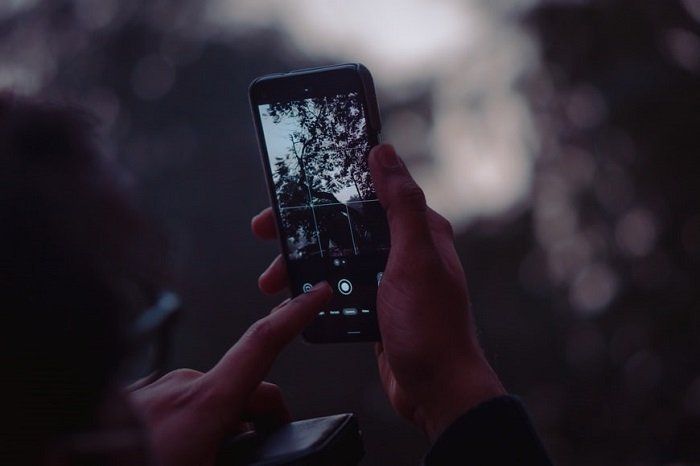
Smartphone photography: Mastering manual settings
Introduction
In today’s digital age, smartphones have become an essential tool for capturing life’s precious moments. The convenience of having a high-quality camera right at our fingertips has revolutionized photography. However, to truly unleash the full potential of smartphone photography, it is vital to master the manual settings. This article will guide you through the process of understanding and utilizing manual settings to capture stunning photographs with your smartphone.
The power of manual settings
While default automatic settings on smartphones can produce decent pictures, manual settings give you full control over the outcome. Understanding exposure, ISO, white balance, and focus allows you to tailor your photographs to achieve the desired results.
1. Understanding exposure
Exposure refers to the amount of light that enters the camera sensor. By adjusting the exposure settings, you can manipulate the brightness and darkness of your photographs. Explore the exposure compensation feature on your smartphone to achieve a balanced exposure, especially in challenging lighting conditions.
2. Mastering ISO
ISO determines the sensitivity of the camera sensor to light. Higher ISO values are useful in low-light environments, as they allow more light to reach the sensor. However, a high ISO can introduce noise and graininess into your images. Experiment with different ISO settings to strike the right balance and maintain image quality.
3. White balance and color temperature
White balance refers to the color temperature of the light. Different lighting situations require adjusting the white balance to ensure accurate reproduction of colors. Setting the white balance manually aids in capturing the natural hues of your subject. Take advantage of presets or customize the white balance setting to achieve the desired tones.
4. Refining focus
Manual focusing can be a game-changer when it comes to smartphone photography. By manually adjusting the focus, you can highlight specific elements in your composition. Tap on the screen to select the focus point or explore your smartphone’s manual focus options to enhance depth of field and create artistic effects.
Utilizing manual settings in practice
Now that we have covered the basics let’s delve into practical tips for utilizing manual settings effectively:
1. Experiment and practice
Start by experimenting with different manual settings in various shooting scenarios. Practice capturing images in different lighting conditions and adjust the settings according to your desired outcome. This hands-on approach will help you understand how each setting influences the final result.
2. Use a tripod or stabilize your phone
Manual settings often require longer exposure times, especially in low-light settings. To avoid camera shake, use a tripod or stabilize your smartphone on a flat surface. This technique ensures your images remain sharp and focused.
3. Post-processing for perfection
Don’t forget the importance of post-processing. Take advantage of editing apps and software to further enhance your photographs. Adjusting contrast, saturation, and sharpness can bring out the best in your images, allowing you to produce stunning results.
Conclusion
Mastering manual settings in smartphone photography opens up endless possibilities to produce breathtaking images. By understanding exposure, ISO, white balance, and focus, you can unleash your creativity and capture scenes in a way that truly resonates with your vision. So go ahead, explore the manual settings on your smartphone, and embark on an exciting journey of visual storytelling!


