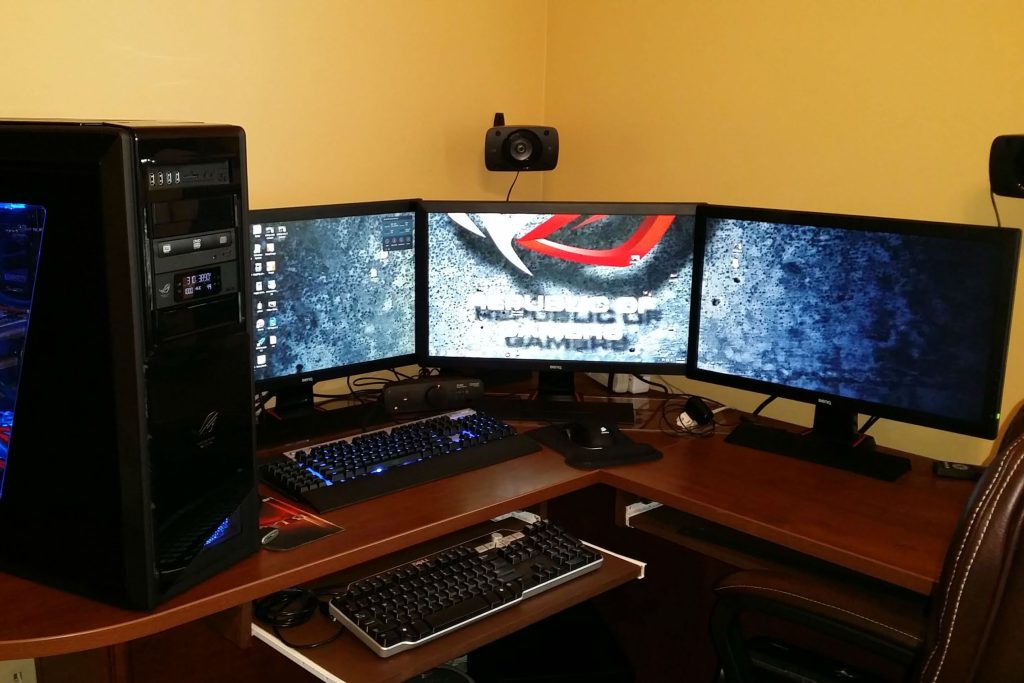
How to set up a dual monitor system for your computer
Are you looking to enhance your productivity and improve your multitasking abilities? Setting up a dual monitor system for your computer can be a game-changer. With the right setup, you can expand your screen real estate, allowing you to effortlessly work on multiple tasks simultaneously. In this article, we will guide you through the process of setting up a dual monitor system.
Step 1: Check your computer’s compatibility
First and foremost, it’s essential to ensure your computer supports dual monitors. Most modern desktop computers and laptops have the capability to connect multiple displays, but it’s always a good idea to double-check. Look for additional video ports or consult your computer’s manual to determine compatibility.
Step 2: Choose your monitors
The success of your dual monitor setup largely depends on the monitors you choose. Consider factors like screen size, resolution, connectivity options, and adjustability features. Ideally, you should aim for two identical monitors to ensure consistent color accuracy and image quality.
Step 3: Gather the necessary cables and adapters
Next, you need to gather the cables and adapters required to connect your monitors to your computer. Most computers and monitors use HDMI, DisplayPort, or DVI connections. Determine the available video ports on your computer and select the appropriate cables or adapters accordingly.
Step 4: Connect the monitors
Once you have the required cables and adapters, it’s time to connect your monitors to your computer. Power off your computer, plug in the cables to the appropriate video ports, and then connect the other ends to your monitors. Make sure the cables are firmly connected to avoid any potential issues.
Step 5: Adjust your display settings
After connecting the monitors, you may need to adjust your display settings to ensure proper functionality. Depending on your operating system, you can usually access display settings by right-clicking on your desktop and selecting “Display settings” or a similar option.
Step 6: Configure your monitor arrangement
In the display settings, you can configure how your monitors are arranged and the relative position of each monitor. You can drag and drop the on-screen representations of your monitors to match their physical arrangement on your desk. This step ensures a seamless transition between the two screens.
Step 7: Set primary and secondary monitors
By designating a primary and a secondary monitor, you can control which screen serves as the main display for your desktop. The primary monitor typically houses your desktop icons and taskbar while the secondary monitor extends your screen space. In the display settings, you can easily assign these roles.
Step 8: Explore additional customization options
Now that your dual monitor system is set up, you can explore various customization options to enhance your experience. You can adjust the screen resolution, choose different wallpapers for each monitor, and even extend your workspace further with additional monitors in the future.
Conclusion
Setting up a dual monitor system for your computer can significantly enhance your productivity and streamline your workflow. By following these steps and ensuring compatibility, choosing the right monitors, connecting them properly, and configuring your display settings, you’ll be well on your way to enjoying the benefits of a dual monitor setup. So go ahead and create a more efficient and immersive work environment by setting up a dual monitor system today!


