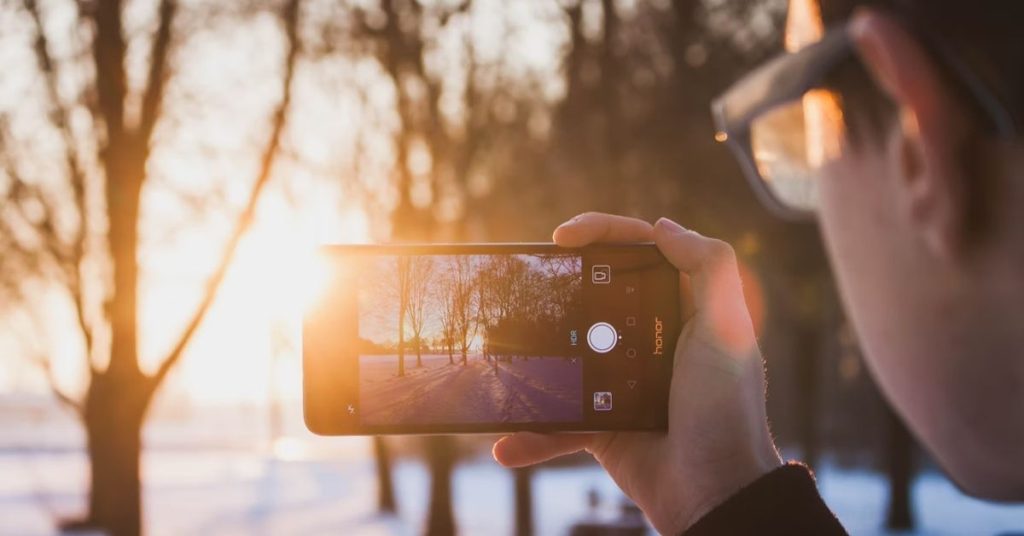
Smartphone Photography: Using HDR Effectively
In today’s digital age, smartphones have revolutionized the way we capture and share moments. With advancements in camera technology, typical smartphone users can now take stunning photos comparable to those taken with professional cameras. One prominent feature that enhances the quality of smartphone photography is HDR (High Dynamic Range). In this article, we will explore what HDR is and how to effectively use it to capture breathtaking photos on your smartphone.
Understanding HDR
HDR, or High Dynamic Range, is a photography technique that aims to capture a wider range of brightness levels compared to standard photography. It combines multiple exposures of the same scene, blending them together to create an image with enhanced detail in both the highlight and shadow areas.
When enabled, the HDR mode on your smartphone camera takes several pictures in rapid succession, each with different exposure settings. It then merges these images to create a final photograph that showcases a broader dynamic range.
Typically, smartphones offer an auto-HDR mode, where the device automatically decides when to use HDR based on the scene’s lighting conditions. However, to have more control over the final result, it’s advisable to switch to manual or pro mode, if available, and manually enable HDR.
The Benefits of Using HDR
Using HDR photography can yield several benefits, including:
Improved Exposure: HDR allows you to capture details in both bright and dark areas of a photo, resulting in a well-balanced image.
Enhanced Colors: HDR brings out vibrant and true-to-life colors, making your photos more visually appealing.
Reduced Noise: By combining multiple exposures, HDR reduces noise in low-light situations, resulting in cleaner and sharper images.
Highlight and Shadow Detail: HDR preserves highlight details by preventing overexposure and reveals details in shadows, giving your photos a more three-dimensional feel.
Using HDR Effectively
While HDR can greatly enhance your smartphone photography, it’s essential to use it effectively to achieve the desired results. Here are some tips:
1. Choose the Right Scene
HDR works best in scenes with high contrast, such as landscapes with a bright sky and dark foreground, or interior shots with windows and shaded areas. These situations often lead to overexposed or underexposed images, which HDR helps to rectify.
2. Steady your Smartphone
Since HDR involves capturing multiple images, any movement or shaking can result in blurry photos. Use a tripod or rest your phone on a stable surface to ensure sharpness and alignment among the images being merged.
3. Avoid Overprocessing
While HDR brings out details, it’s crucial to avoid overprocessing the image. Extreme HDR settings can lead to an unnatural and overly saturated look. Aim for a natural and balanced result by experimenting with different HDR settings on your smartphone.
4. Post-processing Adjustments
After capturing an HDR photograph, you can further enhance it through post-processing apps designed for smartphones. These apps allow you to refine the image’s tone, saturation, and other parameters, giving you complete control over the final look.
5. Experiment and Practice
As with any photography technique, HDR requires practice to master. Take the time to experiment with different scenes, lighting conditions, and settings to understand how HDR behaves on your smartphone. With practice, you’ll be able to identify situations where HDR can significantly improve your photos.
Smartphone photography has come a long way, thanks to features like HDR. By understanding HDR and using it effectively, you can take stunning, professional-looking photos straight from your smartphone. So, grab your phone, explore HDR capabilities, and unlock the full potential of your smartphone’s camera!


